Last time I had a chance to discuss
this arch was a couple of months ago, in January. It's one of seven in the house that I want to square-up and re-frame as they originally were. This one is in the stairway to the third floor. See the
previous post for more info about it.
Part-way through I had to stop and do some work on the
outside of the house. Got most of the outside buttoned-up a few weeks ago which gave me time to get back to the third floor and finish this arch and re-paint the hallway.
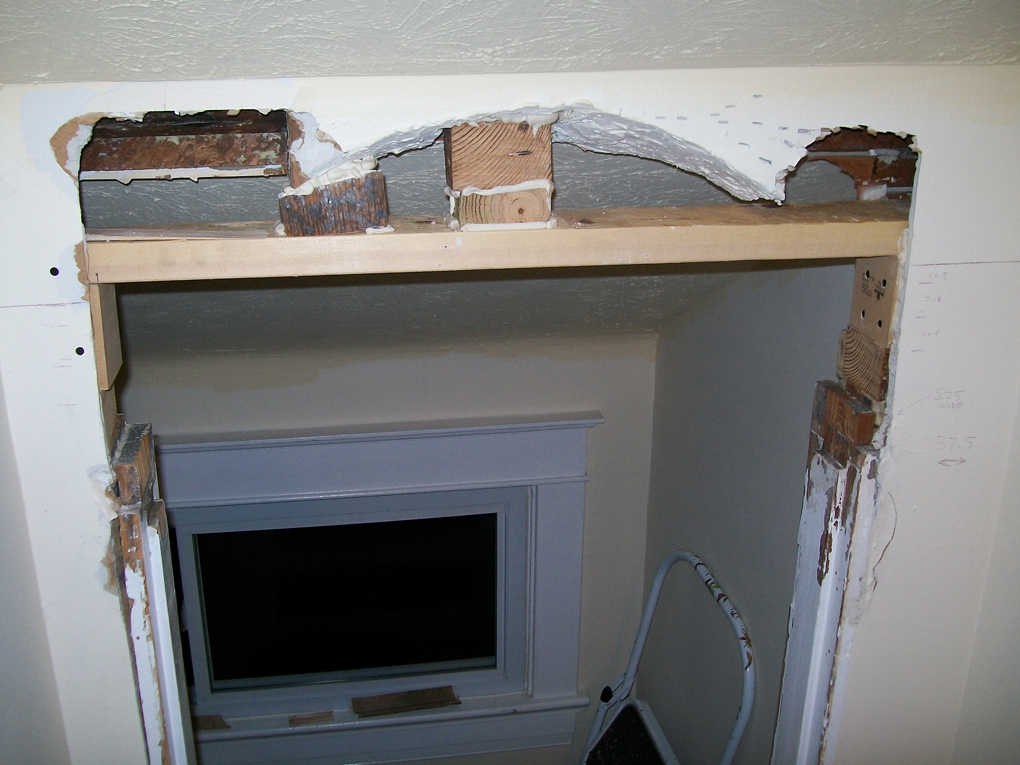
Here's pretty much where I left off at the end of January:
 |
| looking up the stairs, this is what it looked like before adding the header - check out the post called "Archie by Jughead" for details about what happened before this stage. |
Since then I added the header and jamb to the top part of the door frame - the original bottom / sides of the jamb were still there. Then fitted in some trim on the "up-side" of the arch-way. the trim matched "new trim" that is already in the third floor, rather than what's in the rest of the house. Threw in some drywall patches and a bit of spackle, too. The down side of the arch will be done another time (the trim on that side of the archway matches the main part of the house). The rest of this section of the stairs and hall were re-painted, too. .
 |
| Putting the trim up before patching the wall above was easier than patching, then trimming. The jamb is still a little rough, but Ill finish that when I re-do the other side of the arch that faces the window. |
Here are some photos of the next few stages to finish up. Threw in a few images of the rest of the hall, too. It's strikingly different with color on it - white sure makes things blah ....
 |
| Risers and baseboards were all white, stair treads were dirty and paint stained. I scraped, cleaned and varnished the treads, then painted the risers and baseboards. The color is more like an antique walnut, not the peachy color it appears in this photo. That's Winston hanging out at the top. |
 |
| Color is better here, and ... |
 |
| focus is better here ... |
 |
| close up, compare with the "before" photo, below. |
 |
| What a mess - of course I negledted to take a pure before shot of this arch, but you can see the curved shape above the new 2x4 header. |


Great idea Craftsmen like yourself, take one look at the inside the home on display at the local home improvement centers and think to you. I can create arch better than that, and save money doing it. You did a great job, it looks amazing things.
ReplyDelete